News
How to Hang Metal Wall Art Securely – With or Without Nails
Metal wall art adds bold style and modern elegance to any space—but hanging it securely can be a bit tricky, especially due to its weight and material. Whether you’re working with a heavy industrial piece or a sleek metal print, knowing how to install it safely is essential for both aesthetics and wall integrity. In this guide, you’ll learn how to hang metal wall art properly—using traditional tools like screws and drills, or damage-free alternatives for renters and delicate walls.
Essential Tools to Prepare Before Hanging Metal Wall Art
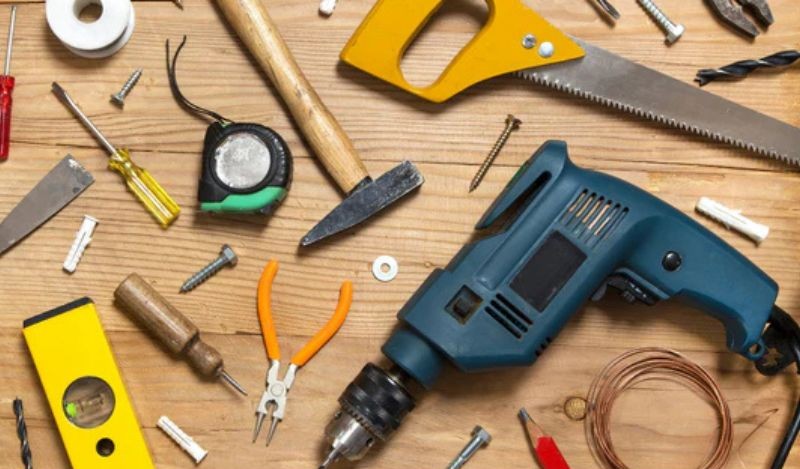
Before starting the installation process, gather all essential tools and materials to ensure a smooth and secure hanging experience. Having the right tools not only protects your wall and decor but also helps achieve perfect alignment and positioning.
- Metal wall art or metal print: This could range from lightweight decorative pieces to heavy-duty sculptures or framed prints.
- Hanger or mounting hardware: Includes D-rings, sawtooth hangers, picture wire, or mounting blocks depending on your artwork type.
- Screwdriver and/or drill: For creating pilot holes and driving screws securely into the wall.
- Wood screws or nails: Choose appropriate sizes and lengths for your wall material and art weight.
- Level: Ensures that your artwork hangs straight and doesn’t appear crooked.
- Tape measure: Used to measure dimensions and determine exact placement.
- Pencil: For marking positions discreetly on the wall.
- Stud finder: To locate wall studs for extra support, especially for heavy pieces.
How to hang metal wall art with nails
Step 1: Select a Secure and Sturdy Hanging Method
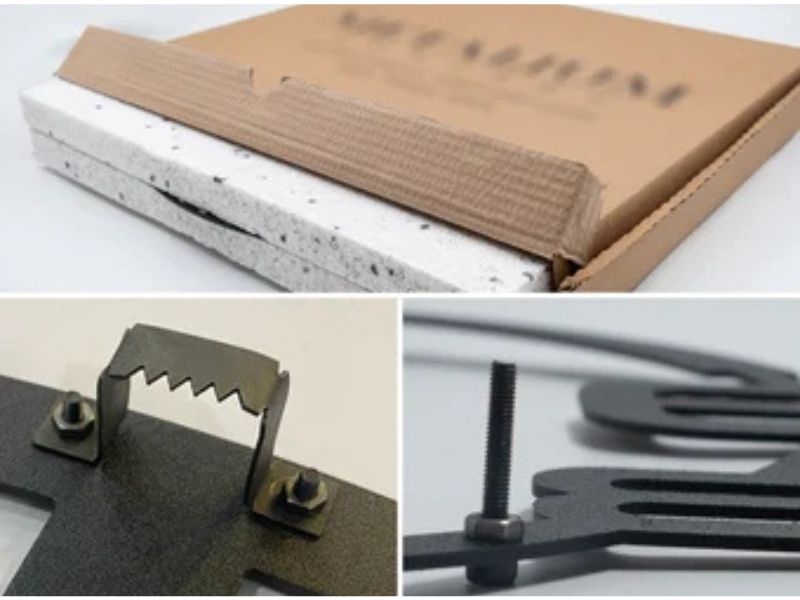
Your hanger needs to match the weight and size of your metal wall art. Many commercial pieces come with pre-installed mounting blocks or sawtooth hooks. If your art doesn’t have hardware, attach a reliable D-ring or picture wire across the back to distribute the weight evenly. For large or irregular shapes, consider using two hooks for better balance.
Step 2: Locate Wall Studs with a Stud Finder
Since metal wall decor tends to be heavier, anchoring it into a wall stud is the safest approach. Use a stud finder by sliding it slowly along the wall until it beeps or lights up to indicate the presence of a stud. Mark the center of the stud lightly with a pencil to use as a reference point for hanging.
Step 3: Mark Your Desired Hanging Area on the Wall
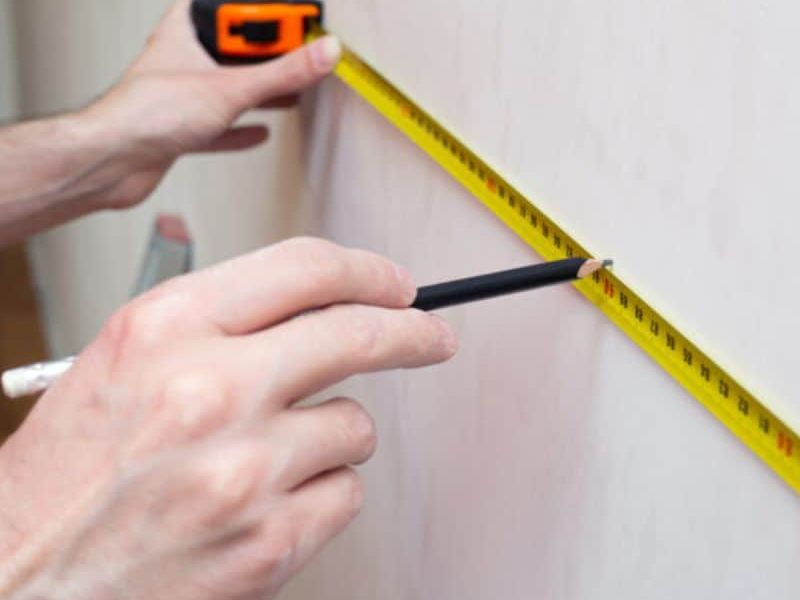
Next, decide where you want the center of the metal art to be. This is usually eye-level or approximately 57–60 inches from the floor for optimal viewing. Use a tape measure to mark this central point vertically along the stud line.
Step 4: Measure the Distance from Hanger to Top of Art
Flip your artwork over and measure the distance between the mounting hardware (e.g., sawtooth hook or wire) and the top edge. This will determine how far down your screw or hook must go from the desired top-edge point on the wall.
Step 5: Identify the Exact Spot to Insert the Screw or Nail
Take the distance from Step 4 and subtract it from your height mark made in Step 3. This final mark is where your screw or hanging hook should be installed. Make it distinct from your earlier marks to avoid confusion.
Step 6: Install the Fastener into the Wall Stud
Using a drill or screwdriver, drive your screw or heavy-duty nail into the wall at the point you marked. If necessary, drill a small pilot hole first to make the insertion easier and more accurate. The screw should penetrate the stud securely and stick out just enough to catch the hanging hardware.

Step 7: Mount the Art and Use a Level to Adjust for Accuracy
Hang your metal art on the screw or hook. Press lightly and check if the piece feels stable. Use a level by placing it on top of the art to ensure it is straight. Make any final adjustments to achieve a balanced, professional look.
Pro Tips for Hanging Metal Art Beautifully and Safely
Hang at Eye Level: Positioning your art with its center at eye level (around 57–60 inches) creates harmony with the room’s layout, especially when placed above furniture like couches or console tables.
Choose Art That Matches the Room: Metal art comes in many finishes—brushed, polished, matte, or painted. Choose one that complements your wall color, furniture, and lighting to create a cohesive design.
Use Accent Lighting: Highlight your piece with directional lighting, spotlights, or wall-mounted lamps to bring out the textures and reflective surfaces of metal decor.
Create a Gallery Wall: For a dramatic effect, combine several metal art pieces of varying sizes around a central theme (e.g., nature, abstract, industrial). Use a consistent frame style or finish to tie the collection together.
How to Hang Metal Art Without Using Nails
If you’re renting, have freshly painted walls, or simply want to avoid drilling holes, there are effective, non-invasive alternatives to hang your metal wall art without using nails or screws. While these options work best for lightweight to moderately heavy pieces, choosing the right one depends on your wall surface, art weight, and long-term durability needs.
Command Strips
Command Strips are one of the most popular damage-free solutions, especially for metal art that is relatively flat and lightweight (generally under 8 pounds). These strips use strong adhesive bonds that can hold art securely to smooth surfaces such as drywall, painted walls, tile, or wood.
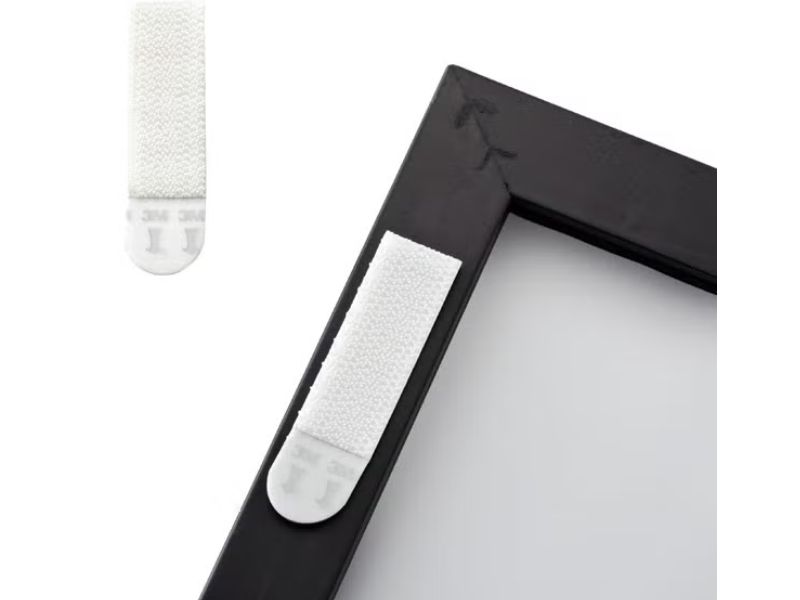
How to Use:
- Clean the wall and the back of the metal art with rubbing alcohol to remove dust and oils.
- Apply the strips according to the package instructions—usually in pairs for better weight distribution.
- Firmly press the metal art onto the wall and hold for 30–60 seconds.
- Wait at least an hour before hanging anything heavier.
Best for: Flat-backed metal prints or plaques
Not recommended for: Rough-textured walls or very heavy metal sculptures
Adhesive Hooks
Adhesive wall hooks provide a slightly more flexible option than strips because they allow for artwork with hanging hardware (like a sawtooth hanger or wire). These hooks come in various sizes and weight capacities—some can hold up to 10 pounds if used properly.
How to Use:
- Select a hook rated for the weight of your artwork.
- Clean the wall surface thoroughly.
- Stick the hook firmly in place and press for 30 seconds.
- Let the adhesive set for at least an hour before hanging the art.
Pro Tip: Use two hooks evenly spaced if your piece requires more balance or has two anchor points.
Best for: Metal pieces with existing hanging hardware
Caution: Test adhesive on an inconspicuous wall spot to avoid paint damage
Magnetic Mounts
For extremely thin and lightweight metal art, magnetic mounting systems offer a sleek, reusable solution—especially if you have a metal-backed surface or use a magnetic base panel.
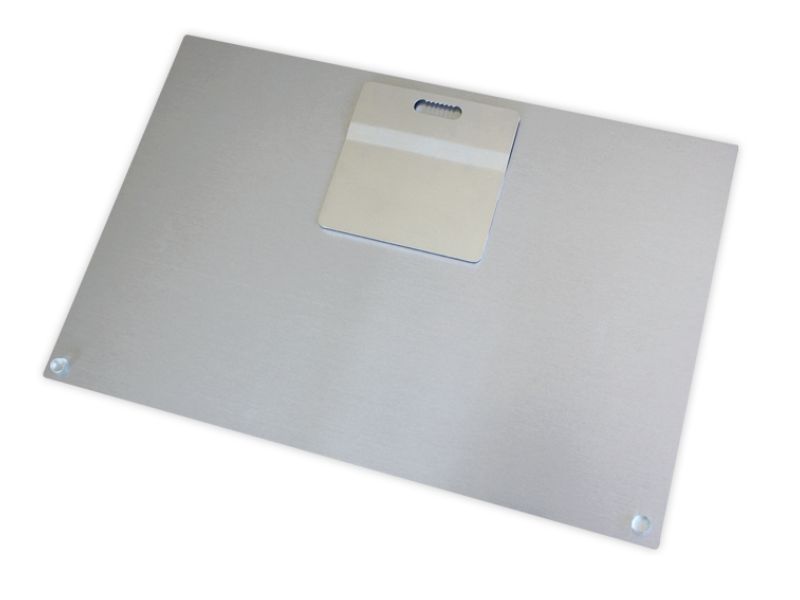
How to Use:
- Attach the magnet directly to the back of the metal piece (some come with adhesive-backed magnets).
- Place a corresponding magnetic plate or base on the wall (can be fixed with adhesive or temporary mounting putty).
- Align the magnets so the artwork holds securely.
Best for: Small, decorative metal signs, letters, or lightweight custom metal nameplates
Limitations: Not suitable for heavy or large pieces; requires a compatible surface
Hanging metal wall art doesn’t have to be difficult or damaging. With the right tools, preparation, and techniques—whether with studs and screws or adhesive solutions—you can display your artwork confidently and beautifully. Always consider the weight of your piece, the type of wall surface, and your long-term design goals. And remember: sometimes the most secure option is the simplest one when executed carefully. Ready to make your walls shine? Start planning your perfect metal wall display today.

