News
Where to put numbers on a mailbox – Dinozozo guide
Placing numbers on a mailbox sounds simple until a delivery is missed or you get a notice. Knowing where to put numbers on a mailbox is key for postal rules, emergency access, and curb appeal. This Dinozozo guide helps you get it right the first time.
USPS Rules for Mailbox Number Placement
The United States Postal Service sets nationwide standards to keep addresses legible for carriers:
- Minimum height: Numbers must be at least 1 inch tall so they remain readable at normal driving speed.
- Location: Numbers should appear on the flag side (the right side as carriers approach) or directly on the front door of the mailbox.
- Mailbox height: The box itself should sit 41 to 45 inches from the ground and 6 to 8 inches back from the curb to align with the carrier’s reach.
- Remote boxes: If your mailbox stands far from the house or at a community cluster stop, include the entire street address—not just the house number—so parcels reach you without delay.
Failure to follow these rules can lead to held mail or corrective notices, so treat them as non-negotiable.
Best Places to Put Mailbox Numbers
Best Places to Put Mailbox Numbers
Deciding where to put numbers on a mailbox plays a big role in ensuring your home is easy to find for mail carriers, guests, and emergency responders. The right placement helps you meet postal guidelines, avoid missed deliveries, and boost curb appeal. Below are the most effective spots to consider.
On the Front of the Mailbox
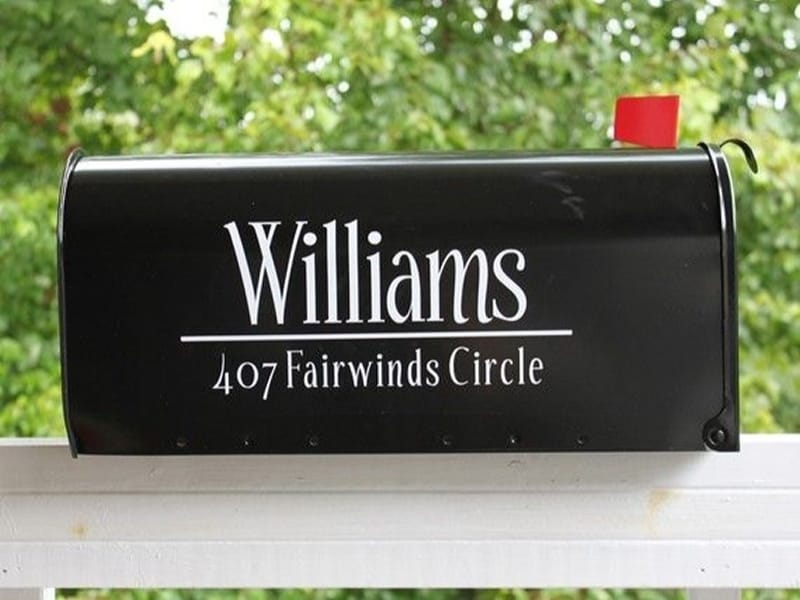
Mounting numbers on the front door or face of the mailbox guarantees clear visibility when mail carriers or visitors approach head-on. This option works especially well if your mailbox sits perpendicular to the street or if vehicles typically pull up directly in front of it. It’s a safe, simple choice that aligns with USPS recommendations.

On the Flag Side (Right Side)
If you’re wondering where to put numbers on a mailbox that’s parallel to the street, the flag side is often the best choice. USPS prefers numbers on the side that faces the carrier’s window during curbside routes. This placement allows for quick, easy identification without requiring the carrier to lean out or circle around the box.
On Both Sides
For homes on corner lots, curved streets, or in areas with two-way traffic, placing numbers on both sides of your mailbox is highly recommended. This ensures that no matter which direction a vehicle is coming from, your address is visible. It reduces the chances of missed deliveries and helps visitors and emergency services locate you faster.
On the Mailbox Post or a Stand-Alone Address Sign
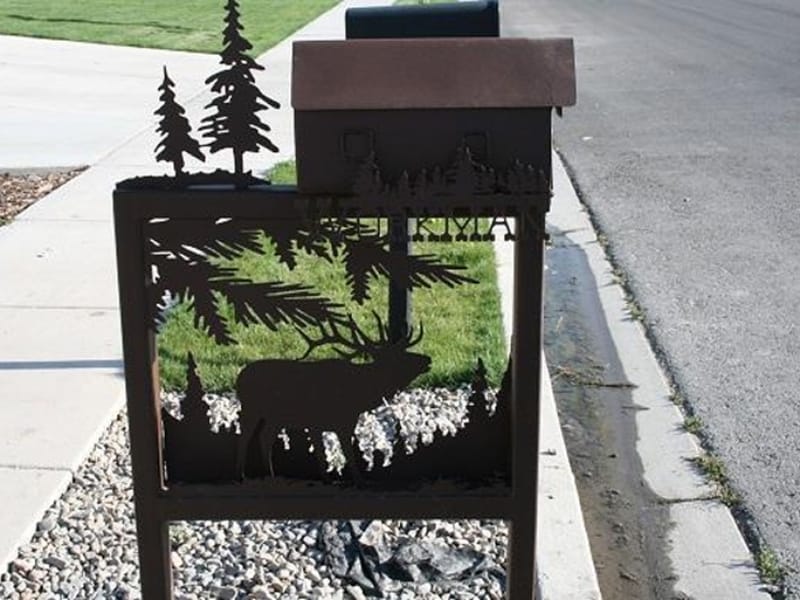
If your mailbox is too small, highly decorative, or installed at an awkward angle, another good solution for where to put numbers on a mailbox is the post itself or a separate address plaque. Just make sure these numbers meet USPS height, size, and setback requirements so they’re easy to spot from the street.
Reflective or Illuminated Numbers
For homes on rural roads, dark cul-de-sacs, or in areas with limited street lighting, reflective vinyl numbers or illuminated address plaques are smart choices. These options help ensure your address stands out in low-light conditions, making it easier for drivers, delivery personnel, and emergency responders to find you at night.
How to Choose the Right Style, Size, and Material
When deciding where to put numbers on a mailbox, it’s just as important to choose the right style, size, and material. A well-designed number display enhances curb appeal while ensuring your address is easy to spot in all conditions. The right choices help your numbers stand out clearly to both visitors and scanners.

Font and Readability
Pick clean, simple fonts like sans-serif or slab-serif to ensure maximum legibility. Ornate scripts may look stylish, but they often confuse both mail carriers and scanning devices. A clear, easy-to-read font is key, especially when considering where to put numbers on a mailbox for quick recognition.
Color Contrast
Strong color contrast between your numbers and their background is essential. Dark numbers on light surfaces—or the reverse—are always easier to read at a glance. When planning where to put numbers on a mailbox, high contrast helps ensure your address is visible from the street, even in low light or bad weather.
Material Durability
- Vinyl decals: Flexible, budget-friendly, easy to apply; ideal for smooth metal boxes.
- Reflective film: Embeds micro-glass beads for night visibility; resists fading for 7–10 years.
- Acrylic or metal plaques: Provide a premium, 3-D look and withstand impact, extreme heat, and prolonged sun exposure.
Installation Tips for Long-Lasting Results
To achieve durable and professional-looking results, follow key installation steps carefully. Taking time to prepare the surface, align elements accurately, and choose the right location will help your numbers or signs stay securely in place. Thoughtful placement ensures visibility, longevity, and reduced maintenance over time.
Clean and Dry the Surface First
Before applying numbers or decals, thoroughly clean and dry the mailbox. Use mild detergent to remove dirt, wax, and grease, and allow the area to dry fully—adhesive won’t bond well if moisture remains. A clean, dry surface not only improves adhesion but also ensures success no matter where you put numbers on a mailbox.

Use Measuring Tools for Alignment
Don’t rely on guesswork. A small level and masking tape help you place numbers straight and evenly spaced. Taking this extra time ensures your numbers look neat and are easy to read from the street, which is vital when deciding where to put numbers on a mailbox for maximum visibility.
Avoid Placing on Moving Parts
Always choose a fixed, stable spot when deciding where to put numbers on a mailbox. Avoid doors, latches, and flags—these moving parts flex over time, causing numbers to peel or fall off. Fixed surfaces provide a solid base for long-lasting adhesion and minimal maintenance.
Consider Additional Signage
If your mailbox or address marker might be blocked by landscaping, snowbanks, or other obstacles, consider installing an extra sign. A clearly visible auxiliary address sign at the end of your driveway or near eye level helps visitors, deliveries, and emergency responders locate your home easily.
Local, HOA, and Style Considerations
Before placing an order for custom numbers or signs, it’s essential to check local regulations, municipal codes, or homeowners’ association (HOA) guidelines. These rules may specify requirements for font style, size, reflective finishes, or even approved materials like brass or aluminum.
Following these standards from the start helps you avoid fines, delays, or the expense of removing and reinstalling non-compliant signage later. Some communities may prohibit certain colors, such as bright neon, or require uniform designs to maintain a consistent neighborhood appearance. Taking time to review these details ensures your installation meets all necessary standards while blending seamlessly with the surroundings.

Frequently Asked Questions (FAQ)
Can I put numbers on the post instead of the box?
Yes—provided they face the street, measure at least 1 inch tall, and respect the 41- to 45-inch mounting height.
What if I have a wall-mounted or cluster box unit (CBU)?
Place the number on the door of the wall box or directly above it. For CBUs, follow the labeling instructions issued by your local postal district.
Can I decorate my mailbox without hiding the numbers?
Absolutely. Apply decals or paint around the address, but keep a clear two-inch margin so the numbers stay unobstructed and legible.
How can I improve nighttime visibility?
Opt for reflective vinyl, add a solar-powered spotlight, or choose LED-illuminated acrylic digits for constant brightness without wiring.
Conclusion
Knowing where to put numbers on a mailbox helps balance postal regulations, neighborhood rules, and personal style. By following USPS placement standards, choosing durable, high-contrast materials, and installing with care, you ensure mail carriers and first responders can find your home easily—boosting both curb appeal and delivery reliability.


